


Blog
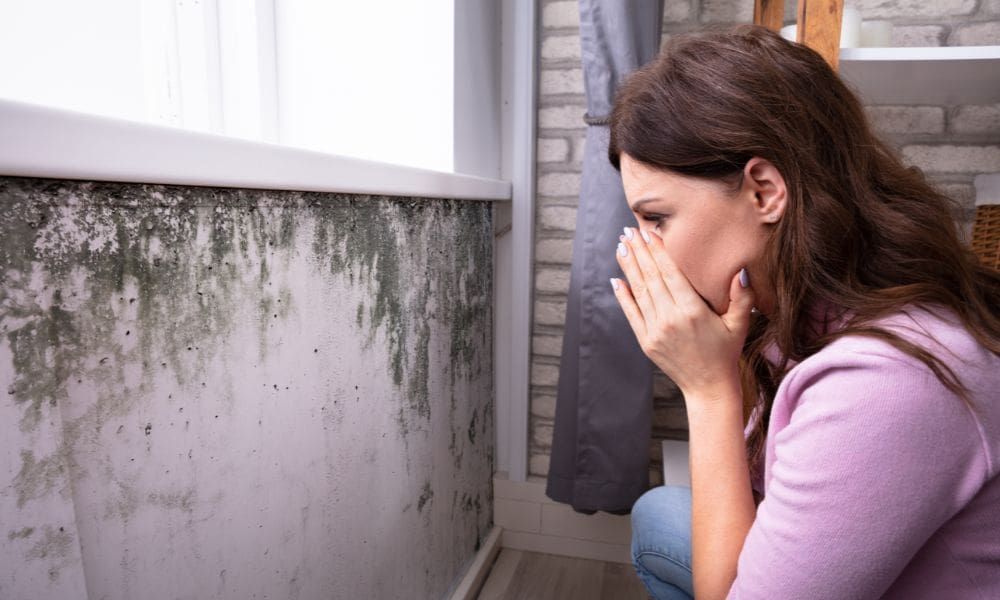
Mold is a hidden menace in homes and buildings, and this goes unnoticed until it begins to cause havoc. It prefers warm and humid conditions and can spread on any surface ranging from walls, floors, ceilings, carpets, and furniture. Although most people consider mold as a mere problem, it is important to understand that mold can result in significant IAQ and health problems for the occupants. In this article, we will review the effects of mold on IAQ, the consequences on health, and possible ways to avoid mold formation.
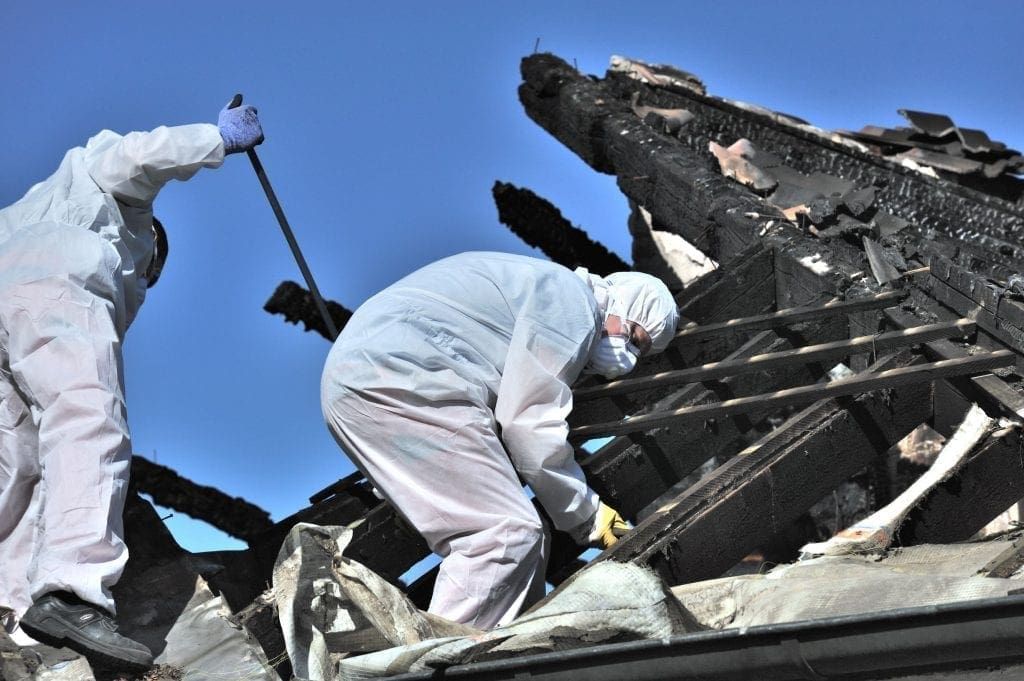
Fire can burn a house to ashes in a few minutes, and all that is left behind are blackened materials, waterlogged residues from the extinguishing process, and hazardous chemicals. However, going back to considering constructing a home, the task goes beyond repairing the damages incurred. Fire restoration is a very specialized branch of work where cleaning, deodorization, reconstruction, and even psychological rehabilitation are involved. This article will discuss specific practical procedures involved in fire damage restoration, keeping an eye on the three main objectives of making a structure safe and habitable and getting a house or any property back to its aesthetic beauty.
El daño por agua es un problema común que puede generar problemas significativos en tu hogar si no se aborda a tiempo. Comprender las causas del daño por agua es el primer paso para prevenirlo. Este artículo se enfoca en las causas visibles del daño por agua, aquellas que puedes detectar fácilmente durante una inspección rutinaria de tu hogar. Al estar al tanto de estos posibles problemas, puedes tomar medidas proactivas para proteger tu hogar y ahorrar dinero en costosas reparaciones.
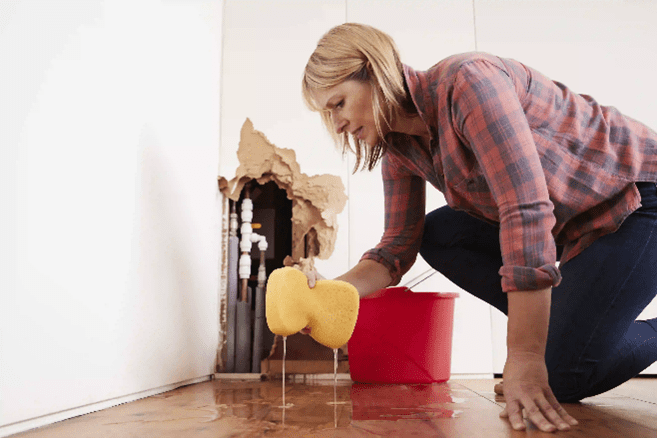
Water damage is a common issue that can lead to significant problems in your home if not addressed promptly. Understanding the causes of water damage is the first step in preventing it. This article focuses on the visible causes of water damage—those that you can easily detect during a routine self-inspection of your home. By being aware of these potential issues, you can take proactive steps to protect your home and save money on costly repairs.
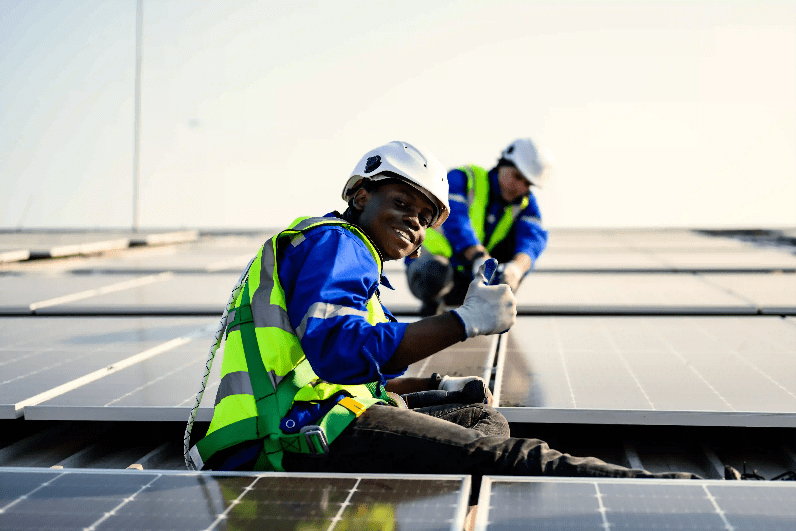
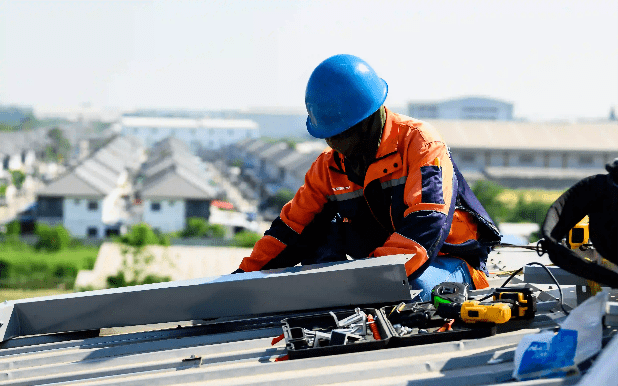
In today’s world, renewable energy is becoming increasingly important, and one of the most exciting advancements in this field is Building Integrated Photovoltaics, or BIPV. BIPV technology is transforming how we think about solar energy by integrating solar panels directly into the structure of buildings. This means that solar cells can be built right into the roof, walls, windows, and other parts of a building, making them nearly invisible while generating clean, renewable energy.
When you’re in the market for a new roof or need repairs, the choices can feel overwhelming. Whether you’re considering traditional shingles, metal roofing, or something more unique, each type of roofing has specific needs that only a skilled professional can address. This guide will help you understand the different roofing options and offer tips on selecting a certified roofing contractor who can ensure your project is completed to the highest standards.
El daño por agua es un problema común que puede generar problemas significativos en tu hogar si no se aborda a tiempo. Comprender las causas del daño por agua es el primer paso para prevenirlo. Este artículo se enfoca en las causas visibles del daño por agua, aquellas que puedes detectar fácilmente durante una inspección rutinaria de tu hogar. Al estar al tanto de estos posibles problemas, puedes tomar medidas proactivas para proteger tu hogar y ahorrar dinero en costosas reparaciones.
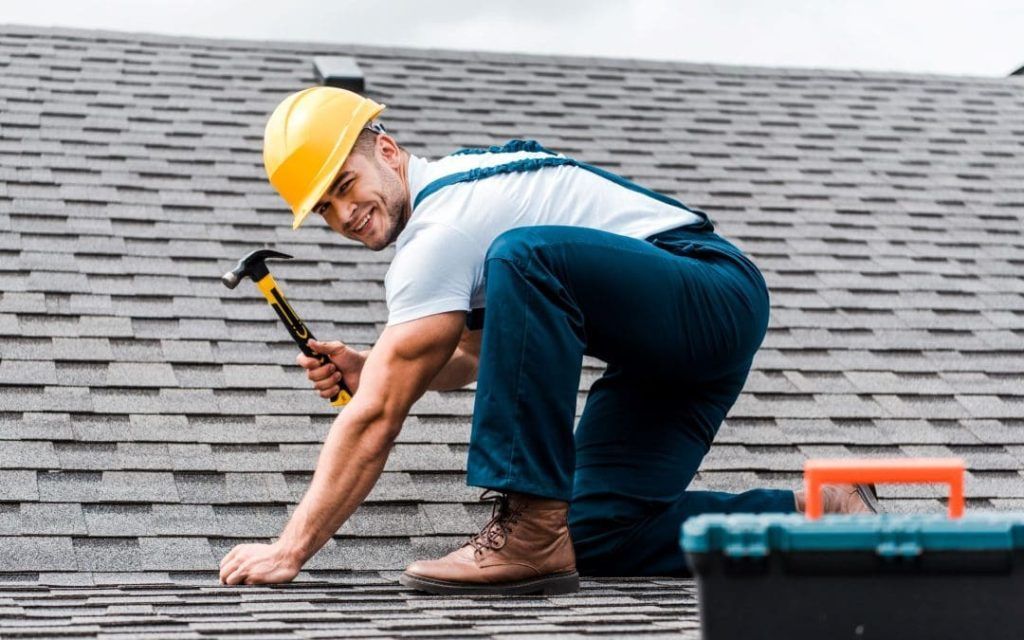
Understanding that your roof is one of the most important parts of your home, protecting you and your family from various kinds of weather, you must complete the following sentences. However, like any other part of your home, it will suit regular maintenance of timetabled servicing and prompt repair to check for any sign of wear. Regular roofing maintenance and understanding when to conduct an inspection can go a long way toward increasing roof life while avoiding expensive repair or roof replacement costs. We will outline some of the ways that should help you avoid roof replacement and, instead, ensure that your roof is well maintained for its effective lifespan.
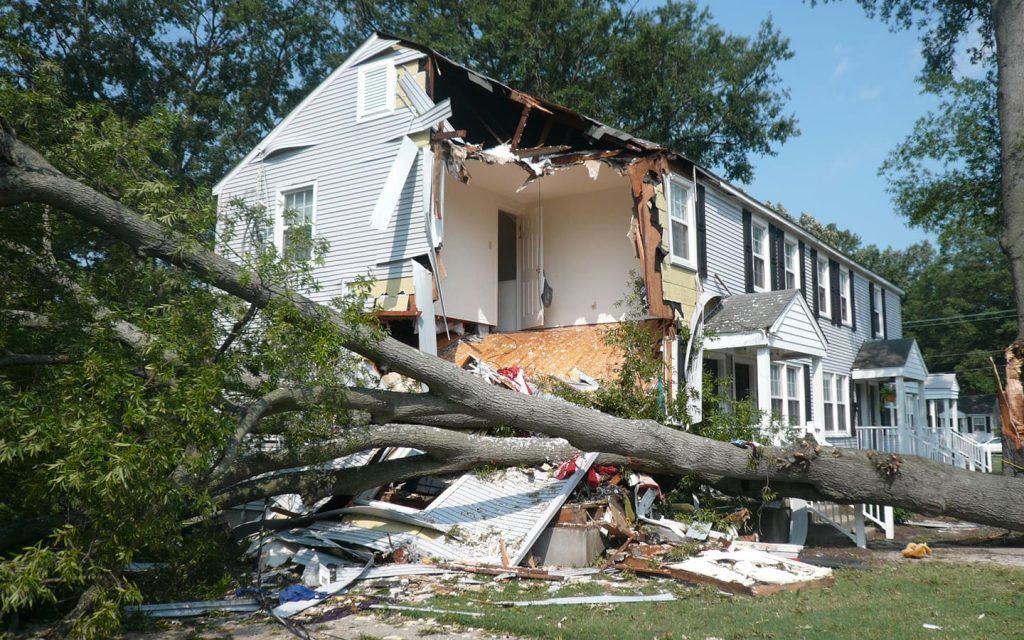
As severe weather events grow more common in the United States, people need to focus on ensuring their property is secured. In 2022 the U.S. encountered 18 weather and climate disaster episodes according to NOAA with damages of over $165 billion. Strong winds and heavy rain can wreak havoc on your real estate for which applying appropriate weather-resistant measures allows you to reduce storm damage and protect your home. We will discuss essential steps in this guide to keep your house safe during severe weather and reduce storm damage.
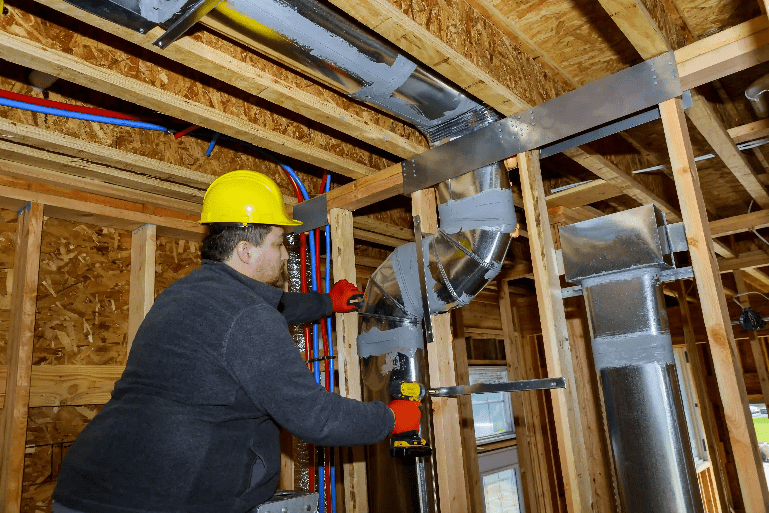
Upgrading your air conditioning system can feel like a daunting task, but with the right information and guidance, it doesn’t have to be. Whether you’re simply upgrading parts of your system or replacing the entire unit, knowing what to expect can make the process much smoother. This guide will walk you through everything you need to know to ensure a successful upgrade to your air conditioning system.
Speak directly with our experts—call (305) 224-1666 today.